This weekend I held a class where participants made 2 little sets of notecards, boxed up and ready to give away.


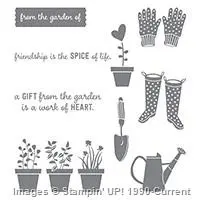
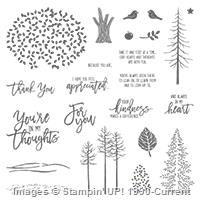
 Single piece of 6 x 31/2" card, stamped with Gift from the Garden, 3 graduated Score lines under the pot plants as decoration.
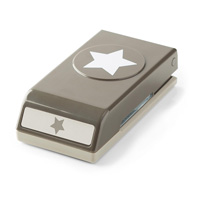
 More unisex version, again using the left over strip from the envelopes plus a few other matching strips and simple punched foil stars.

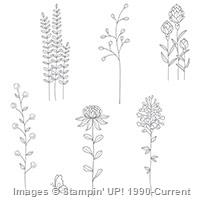
 Flowering Fields always a winner.
 These are based on the set I made for CTC#103, you can see those cards here


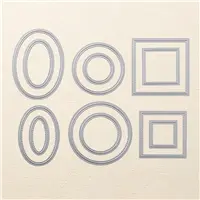
Single pot plant from Gift from the Garden coloured with markers. cut using Stitched Sirdcle Framelits, note the 1/2" strip of DSP from the envelopes.

I was fortunate to have enough of these fabulous retired boxes for everyone to parcel up their packs, but there are plenty of other packaging options
- You could make a larger envelope using the envelope punch board
- You could make a box using a sturdy card like the Kraft cardstock and the Envelope Punch Board. - I often use the Box Buster by The Crafty Owl, you can find this fabulous tool for calculating the size of card you need and the score lines here. Joanne has created this great site and allows anyone to use it
- You could use the Kraft Tag and Bag
- you could use the Mini Treat Thinlits and create a bag
At any rate, a set of cards is always a sweet gift.
I had created several options but they were mostly based on a similar design
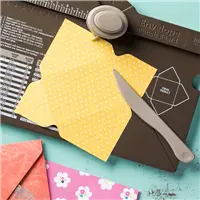
From one sheet of 12 x 12 you can create 4 mini envelopes. First cut your paper down to 11 1/2" square - this will give you 2 strips half inch wide which you can use to decorate the front of your notecards. Then divide this into quarters.
(Alternatively the little 6 x 6 paper stacks usually have 4 of each design and you could use these, your strips of left over DSP would only be 1/4" wide)
With your 4 squares of 5 3/4" DSP Punch and Score at 2 5/8" for the first Score, this will give you 4 envelopes suitable for a finished card 3 x 3 1/2"
Cardstock is 6 x 31/2", scored at 3"
The options for decoration are endless. Here are a few of the designs we made.


These cards are a brilliant way to use up DSP, the glimmer foil is not Stamping' Up! but it does coordinate beautifully with the Kraft DSP


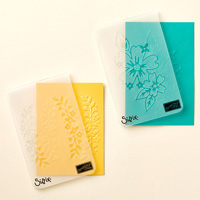
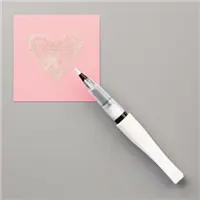
Simply fold a piece of white card and emboss using the Floral Affection embossing folder, highlight with Wink of Stella and stamp a suitable sentiment- this Thankyou is from Thoughtful Branches.
I hope this give you some ideas on ways to use up some of your DSP, as well as gift giving.
Thanks for looking, Liz


What a cute idea for a class. Love all the designs but the first set is my favourite.
ReplyDelete