Welcome back for another CASEing the Catty Sunday hop . You may have come from the very talented Kelly - she can be a hard act to follow! or you may be starting here, be sure and hop all the way around for some inspiration form everybody. Then we'd love you to also create something inspired by pages 8-11 of the Sale a Bration catalogue and share it on our Facebook group page.
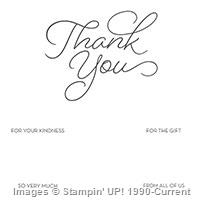
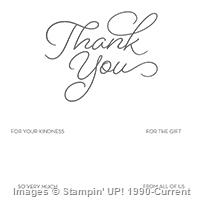
My original plan was to work with the Delicate Details set which I love, but then I thought I should play with the So Very Much set and see how easy it is to use. It is a very large sentiment which can be difficult to use, and the picture in the brochure is a bit deceptive - the card on the left is VERY big. So I opted to play with the layout on the right. Here's the 3 versions (plus 1) which I created of the same layout.
You can look at these as being for a Beginner stamper, A Casual Crafter, and an Avid Crafter.
Here's the catalogue sample on the right.
Beginner Crafter - very simple stamping and minimal supplies -
Casual Crafter - same simple stamping and minimal supplies , but added layer under large panel, and sentiment is 2 layers adhered onto main panel
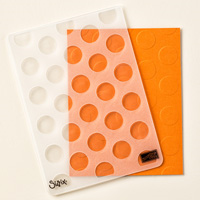
Avid Crafter - same simple stamping, Base layer of card is embossed, layer under large panel, and sentiment is 2 layers adhered onto main panel
Which is your favourite?
And of course the inside needed a little bit of treatment - in truth this happened partly because I tried some background stamping with the large Thankyou sentiment (like the large card on the left) but I didn't like it, so I had to cover it up and the outside then became the inside. This happens to me quite a bit, but I always say there are no mistakes- only creative opportunities ; )
So then comes the PLUS 1 - my darling husband had a look at them while I'm taking the photos and commented that he would have put the bow at the top of the middle card, not near the flag...... so I thought I would take his advice and reworked both the Casual and Avid versions!
Maybe he's on to something..
Maybe years of crafting is rubbing off onto him?
Maybe he was just trying to be funny? (Always a possibility)
Maybe I should employ him as my advisor?
Maybe I should sign him up? and give him his own craft desk?
... He's really so tolerant of my crafting and so supportive I'm incredibly grateful to him...
Next on the hop is Rachel, I'm looking forward to seeing what she comes up with!
My original plan was to work with the Delicate Details set which I love, but then I thought I should play with the So Very Much set and see how easy it is to use. It is a very large sentiment which can be difficult to use, and the picture in the brochure is a bit deceptive - the card on the left is VERY big. So I opted to play with the layout on the right. Here's the 3 versions (plus 1) which I created of the same layout.
You can look at these as being for a Beginner stamper, A Casual Crafter, and an Avid Crafter.
Here's the catalogue sample on the right.
Beginner Crafter - very simple stamping and minimal supplies -
- 1 colour of Cardstock plus Whisper White,
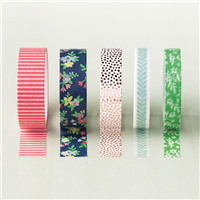
- Washi tape and
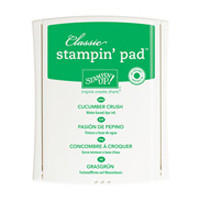
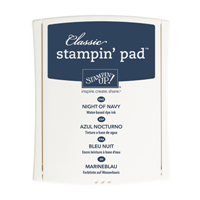
- 2 ink colours
- TOOLS- scissors, glue, paper trimmer

Casual Crafter - same simple stamping and minimal supplies , but added layer under large panel, and sentiment is 2 layers adhered onto main panel
- 2 colours of Cardstock plus Whisper White,
- Washi tape and
- 2 ink colours
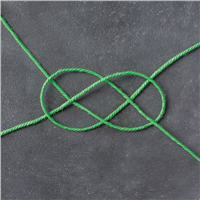
- Baker's Twine
- TOOLS- scissors, glue, paper trimmer. stapler
- 2 colours of Cardstock plus Whisper White,
- Washi tape and
- 2 ink colours
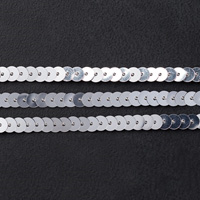
- Baker'sTwine, Metallic Thread, sequins
- TOOLS- Big shot, Embossing Folder,scissors, glue, paper trimmer, stapler, twine, dimensionals
Which is your favourite?
And of course the inside needed a little bit of treatment - in truth this happened partly because I tried some background stamping with the large Thankyou sentiment (like the large card on the left) but I didn't like it, so I had to cover it up and the outside then became the inside. This happens to me quite a bit, but I always say there are no mistakes- only creative opportunities ; )
So then comes the PLUS 1 - my darling husband had a look at them while I'm taking the photos and commented that he would have put the bow at the top of the middle card, not near the flag...... so I thought I would take his advice and reworked both the Casual and Avid versions!
Maybe he's on to something..
Maybe years of crafting is rubbing off onto him?
Maybe he was just trying to be funny? (Always a possibility)
Maybe I should employ him as my advisor?
Maybe I should sign him up? and give him his own craft desk?
... He's really so tolerant of my crafting and so supportive I'm incredibly grateful to him...
Next on the hop is Rachel, I'm looking forward to seeing what she comes up with!
You 'll find the full crew here
And don' forget we love to see what you create. Join our Facebook group and upload your card based on pages 8-11 of the brochure.
thanks for looking, and don't forget to get your Sale A Bration items while the promotion lasts.
Don't just post online, Post something Pretty, Liz




Love how you have created Stepped up designs Elizabeth.... and how funny your hubby is!
ReplyDeleteThanks Mel, and yes he's very funny!
DeleteThey all look fab!! I love the stepped up versions. And he sounds like a keeper!!
ReplyDeleteThis comment has been removed by the author.
DeleteThanks Bec, definitely a keeper! I'll make a card maker out of him yet
DeleteLove all your stepped up cards. What a brilliant idea to show all the stages. And your dear crafty hubby sounds like a definite keeper! Great works Elizabeth as always.
ReplyDeleteAbsolutley a keeper Julia
DeleteWhat great cards ! I'll be stealing these ideas for my newbies and they can choose stepped up or not !
ReplyDelete