Welcome to another week with CASEing the Catty as we seek inspiration from pages 8-13 of the new Occasions Catalogue.
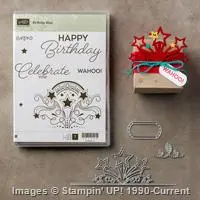
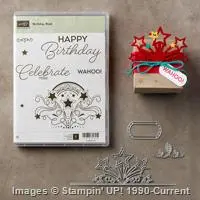
While I love the Cupcakes and Carousels paper, I am totally in love with the Birthday Blast and Star Blast Edgelits and I was inspired by the box on the bottom of page 11, but I have created a Card in a Box. I had to play around with dimensions a little to get the width for the edgelit, and created a long flat box ("landscape") rather than the conventional taller "Portrait"box. So these dimensions fit neatly into our Crumb Cake Envelopes or you can easily make one to suit- and the beauty is that from one sheet of 12x12 DSP you will get the envelope plus the decorative panels for your card.


You can see how neatly it folds flat and slides into the envelope!, And you can see the single bridge adhered to the inside of the box.

I stamped the base of the box with the teeny star just like the image in the catalogue.
You need to make sure that the stars sit down low enough so that the tip is covered by the back of the card and protected.
There are plenty of tutorials for Card in a Box, but these are my dimensions for this size Card
(they are imperial as it's just simpler for this card)
- Cut one piece of A4 cardstock down the centre (10.5cm or 41/8"), and trim to 11" long
- place in the scoring tool Landscape
- Score at 1/2", 1-5/8" 5-3/4", 6-7/8"
- rotate and score at 2-1/8" only along the first four sections- leaving the last large panel complete
- cut the tab off as shown
- cut along the score lines down to the centre score line along and fold these flaps outwards- you may like to trim these in a very thin V so they sit better but that's optional
- glue the small tab in place to create the box
- cut single bridge piece 1 1/2" x4 7/8", score at 3/8" and 4 1/2"
- score the ends of the bridge piece and adhere it level with the top of the inside of the box
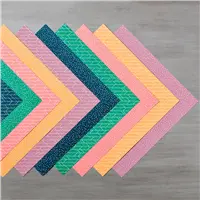
- cut the piece of 8 x 8 Envelope paper , and cut the decorating panels from the remaining strips- the Envelope Paper is thinner than regular paper and folds nicely around the box to hold the flaps down in place.
- to make the envelope take your piece of 8 x 8, Punch and Score at 3 1/2", then proceed as per usual method with envelop punch board
- Decoration Panels from the remaining strips
- cut 4" x 4" -2 pieces
- cut 8" x 1 1/2" -1 piece
- Whisper White/ Neutral cut 3 3/4" x3 3/4" - 1 piece for reverse.
- Cut out the star banner and adhere it to the bridge making sure it's low enough that the point of the star is protected.
- decorate as desired


I also made a few more samples with this including a cute shaker and post those this week so check back - or make sure you have filled in your email address in the "Follow me by email" box on the right side of this page
I'd love to see any that you create, and don't forget we love it when you join in.
It's so easy. Create a card using the catalogue pages 8-13, take a photo of it and post it to our Facebook page
You can see the full line-up for this week here,

and you can follow on or back using these link buttons.
Rachel is next on the hop

And before me is Monique this week

I'm also going to enter these in the Global Design Project #071 for this week - 3D or off the page items

Thanks so much for looking,
Liz

I apologize! I'm having trouble reading your instructions you wrote on your Crumb Cake c/s. I couldn't make out piece nor the envelope piece. I have scratches on both lens of my glasses. I'm getting my new ones today.
ReplyDeleteHi Gloria, thanks for your message. I hope you have got your glasses sorted today. I have been back and edited the post so that now all the information written on the photos is now in the typed description and the instructions. Hope that helps- have fun making some of these!!
DeleteThese look amazing Elizabeth. Thanks so much for the tutorial! I will be sure to have a play and make some of these!
ReplyDeleteThanks Mel. they are fun to give away!
DeleteThese are fabulous Elizabeth! Thanks for all the instructions and measurements....all those extra things can take so much time and it's truly appreciated. :)
ReplyDeleteThanks for sharing and playing along to the Global Design Project this week. xo
Thanks so much Louise, I sometimes have to document the measurements here so I can fined them again!! but i do love a 3D card!!!
DeleteWow I love it!! I especially like the glitter one! And thank you for the instructions, I'll be coming back to use them later.
ReplyDeleteWow that is an amazing pop up box card, you are so generous in sharing your measurements for this amazing design.
ReplyDeleteStunning projects And Thankyou for doing all the hard work and measuring. And sharing. This is such an amazing card. Wow.
ReplyDeleteWhat a fabulous card, Elizabeth. I especially like the Dapper Denim and silver glimmer version. Super for a milestone birthday.
ReplyDeleteThankyou all for your lovely comments. I'd love to see what you make if you use these dimensions!!
ReplyDeleteThis is the first card in a box that i have seen with these dimensions. I love it!
ReplyDelete