Welcome! This is a very exciting day as we launch the very first Colour INKspiration bloghop! Thanks so much to Bronwyn for her vision and energy in setting this up.The real beauty of this creative challenge is that anyone who has a facebook page can join in! You do need to be a member of the group - which is by invitation- so if you aren't a member already just email me to join in.
That's right - you don't need to have your own blog to participate. Simply make a creation using the current colour inspiration photo and take a photo of your work and upload it to the Facebook page. It's that easy.
How delicious are the popsicles and the colours- a veritable pastel rainbow.


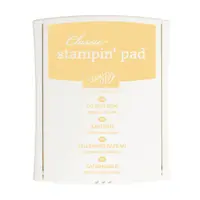
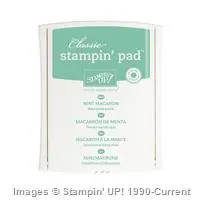
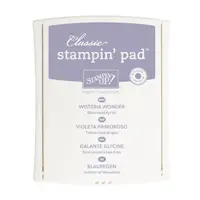
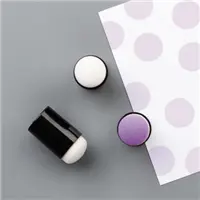
I used the sponge daubers to randomly add patches of colour and blended them together as I went along. It surprised me how much deeper the Mint ink was in tone compared to the others. Also the Wisteria is more of a grey purple than blue tones so I didn't use large patches of it- I preferred the Sugarplum blended with the Turquoise for purple shades (Primary school colour wheel images coming back??) So that's the sponging part of the technique. Then to mute the colours back to pastel and soften the whole piece I splashed clean water onto the card piece.( You are aiming for large drops rather than puddles! leave it for a moment) then it needs to be blotted it off with paper towel. Sponge and splash - really that easy! If you are not happy with the first splash session you can always do a second splash routine - the results will amaze you.
The beauty of this technique is that it looks different every time! That makes us all artists!!!
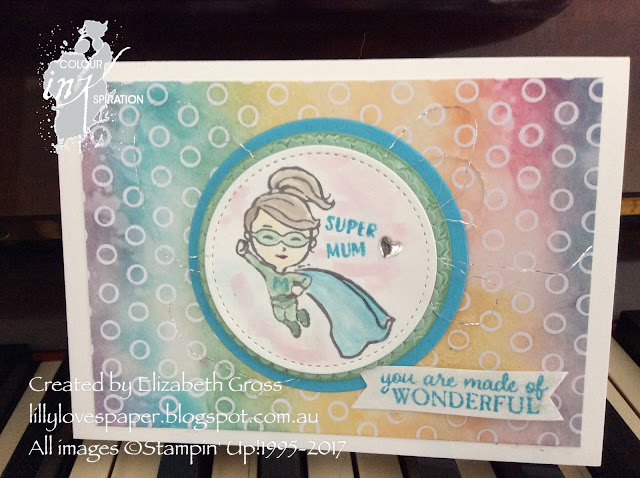
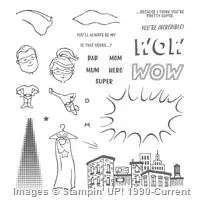
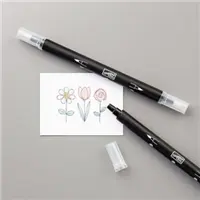
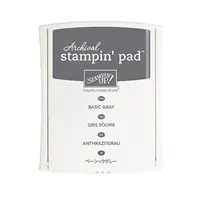
I stamped the super hero in Archival Grey ink and coloured her with a blender pen, then layered solid circles of coloured cardstock with a few strands of metallic pink or silver thread behind. The archival ink doesn't bleed when you use the colouring strokes over it, though you need to wait till it's quite dry before you start.


That's right - you don't need to have your own blog to participate. Simply make a creation using the current colour inspiration photo and take a photo of your work and upload it to the Facebook page. It's that easy.
How delicious are the popsicles and the colours- a veritable pastel rainbow.

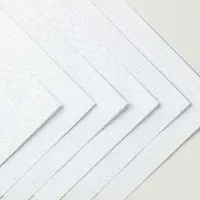
I have made a few cards using the inks and my sponge daubers to create a rainbow background for my Superhero! I just love the Everyday Hero, it's a super cute stampset. The background paper is also super easy to use - Irresistibly Floral Specialty DSP - the white on white design is made for adding your own colour background, with the gloss white design resisting the ink.
I call this Liz's "Sponge and Splash Technique"

I used the sponge daubers to randomly add patches of colour and blended them together as I went along. It surprised me how much deeper the Mint ink was in tone compared to the others. Also the Wisteria is more of a grey purple than blue tones so I didn't use large patches of it- I preferred the Sugarplum blended with the Turquoise for purple shades (Primary school colour wheel images coming back??) So that's the sponging part of the technique. Then to mute the colours back to pastel and soften the whole piece I splashed clean water onto the card piece.( You are aiming for large drops rather than puddles! leave it for a moment) then it needs to be blotted it off with paper towel. Sponge and splash - really that easy! If you are not happy with the first splash session you can always do a second splash routine - the results will amaze you.
The beauty of this technique is that it looks different every time! That makes us all artists!!!
I stamped the super hero in Archival Grey ink and coloured her with a blender pen, then layered solid circles of coloured cardstock with a few strands of metallic pink or silver thread behind. The archival ink doesn't bleed when you use the colouring strokes over it, though you need to wait till it's quite dry before you start.


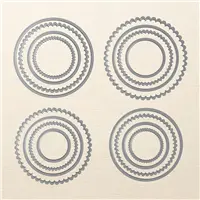
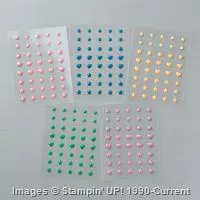
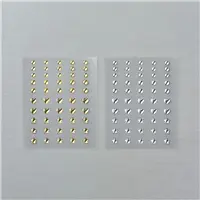
The enamel shapes are the perfect size to work with these figures. The sentiment in the Everyday Hero set are fabulous but I also used the "wonderful" sentiment from the Picture Perfect set. I think most Mum's are pretty wonderful!
Next up this week Bec I wonder what lovely creation she will have today?
I hope you find some time to be creative and to link up with us on the Facebook page.
Thanks for looking, Liz

Love the technique Liz...and the name! Such a great background for these great images.
ReplyDeleteSponge & Splash, great technique, great result Liz. You're incredible!
ReplyDeleteYour cards are 'super'!!! Beautiful use of the colours. Can't wait to get my superhero mits on this stamp set! Kelly x
ReplyDeleteAwesome. Love it, Liz.
ReplyDeleteSponge and Splash HAS to be in my next techniques class Liz! Loving that background! uch a fun card.
ReplyDeleteHow fun!!! Looks like you could just go crazy and lots of backgrounds all at once, Tfs
ReplyDeleteLoving that background Liz and the offset circles. This is such a fun card...Love it! xx
ReplyDeleteLove the background!! Great cards!
ReplyDeleteLove the background!! Great cards!
ReplyDeleteSuper card, for a super hero! Love the sponging background, these pastels just blend well together.
ReplyDeleteWhat a fun card! Love the sponge and splash!
ReplyDeleteSuper card Liz! Sponge and splash- super technique! Thanks for sharing it with us!
ReplyDeleteSqueal!!! Too cute. Isn't this set so much fun? Thanks for joining the CI Crew. So good to have you on board.
ReplyDeleteSuper cute card!!! Love the background you've created.
ReplyDelete