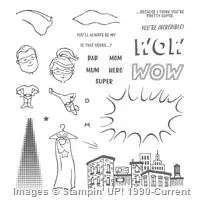
Well with the launch of the new Catalogue the dilemma always presents itself- where do I start? There are so many amazing products and suites to play with, I want to play with them all, NOW, Today!! So I have had to just pick a point and start there. So....I am totally in love with the Everyday Hero Set and that seemed like a good place to begin. ......
I have created 3 cards using the Everyday Hero set and I can't decide which is my favourite.
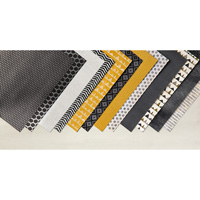
I decided to use the Urban Underground Specialty DSP - the black, grey and vanilla pages are a very versatile backdrop, and easy to use with a variety of stamp sets and situations.
The smaller of the two balloons from the Balloon Bouquet Punch was the better size to fit with my sugarplum superhero. I sponged each of the cardstock balloons with its corresponding ink to give some more depth and the illusion of roundness- and a bit of Wink of Stella for highlights- what did we do before Wink of Stella???
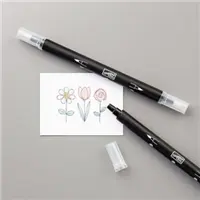
I separated a few strands from the Baker's Twine to be a better weight for the balloon strings- and some are a few strands from the silver ribbon. I coloured my super hero using blender pens on shimmery white cardstock but I add more Wink of Stella . The sentiment is from Grateful Bunch and I highlighted 'Awesome" by writing over the letters with the fine tip glue pen. It gives such a nice definition
The masculine version cracks me up just looking at him. I used the blender pen and shimmery white cardstock again with real red and silver. The enamel shapes are the perfect size to go with these figurines and Cherry Cobbler seemed perfect. The sentiment inside is from the new Suite Sentiments set which is oh so versatile.
 My third card in this series was inspired by the layout in the Sale-A Bration catalogue on page 6 using the Carried Away DSP. So simple and striking - a great way to show off the different coordinating designs in each set. The simple stitched framelits oval seemed perfect for the cape- and again the enamel elements star was just right.
I Love cards but this set lends itself to some 3D projects too.
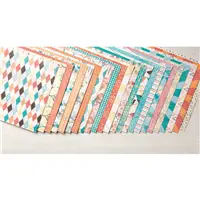
The colours in the Cupcakes and Carousels DSP are stunning and Bermuda Bay is such an easy colour to use- it always looks so fresh. My cardboard frame was too dark in the Kraft colour so I tore the DSP into pieces and glued the pieces on in layers to cover it - like Paper Mache in primary school!
I created a comic book scene in the frame - I think this will be perfect for a birthday for someone special in my family! The teeny tiny star in the set was perfect to decorate his cape tone on tone. The sentiments are from Everyday Hero and from Balloon Adventure
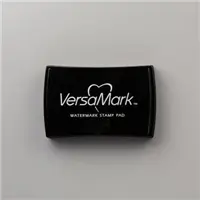
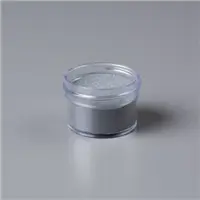
The cute little birthday packaging is to match. This time the sentiment is from Mixed Drinks. No shortage of cute sentiments in that set!! And since the gold binder clip was the wrong colour I converted it to silver using versamark and silver embossing powder and heat setting it. You definitely need tweezers to hold the clip in place so you don't burn your fingers with this technique! Layering the city scape was fun too - I used some of the leftover red rubber from previous sets instead of dimensionals - it's sturdy and flat and you can cover a large area. It also raises pieces a little higher than dimensionals which is perfect for 3D. It's a handy recycling tip - I'm sure super heroes recycle!
I've had such a lot of fun playing with this set - if it's on your wishlist you won't be disappointed.
I think I'll enter these in the challenge at Stampin' Up! Only - #165 New Year, New Stuff
One of my all time super hero friends and I went on a little holiday recently. I am hopeless at scrap booking but with Project Life it is a lot easier. These gorgeous cards are from the Hello Lovely set.
One of my goals for 2017 is to challenge myself to
1. get some photos organised and
2. PL them!
So this is my first page- a new start for the new year! It was a lot easier than I thought. Thanks Stamping' Up for having everything coordinating.
What are your crafting goals for 2017?
Let me know if I can help
thanks for looking,
Liz





Wow, you have been busy! Love all of your cards and projects with the new stamp sets :-) Thanks for sharing with us at SUO Challenges- hugs and I hope you have a great week!
ReplyDeleteTotally awesome Prohects. They are all fabulous and look amazing. I love them all. My favourite is the beautiful Bermuda bay frame though. So glad you joined the fun at SUOChallenges
ReplyDeleteOh...you are SO tempting me to get this set! It caught my eye, but I wondered if I would use it that much! LOVE your ideas! Thanks for playing along with the SUO Challenge this time!
ReplyDeleteWhat FABULOUS use of this set...they are all FANTASTIC! LOVE 'EM! Thanks for joining the SUO challenge!
ReplyDeleteThis superhero set is growing on my. I love your cards. Adding the balloons to the first card is a great idea. Thanks for playing along with the SUO Challenge.
ReplyDeleteWow - awesome superhero creations - all of them!!!!! Thanks for playing along in the SUO challenge!!
ReplyDelete