I was asked to do a class using interactive cards or designs that were more interesting than the simple basic card. Since I always struggle knowing when to stop it's no surprise that of course I took the challenge and amplified it to not 1 but 3 interactive designs. The class was lots of fun and this is one of the projects we made.
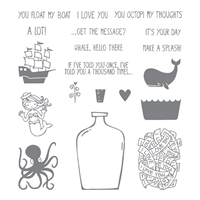
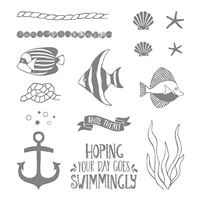
I had never made a waterfall card and had thought that it would be way too complicated so I put it off for ages. This class seemed like a good reason to try one and I was so surprised at how easy it really is- and just how super cute and effective. It was a big hit and I may have just convinced a few people that they NEED the Message in a Bottle set!
I searched Pinterest (of course) but was unable to come up with too many cards made recently using current stamp sets so I just set about experimenting with the sets I have and I am really happy with the results.
I found the best tutorial on Split Coast Stampers although there are plenty around. (it was a new craze back in 2007! according to SCS). I did add the punched half circle at the base which Dawn Griffith shows in her video also.
My Measurements
I did try and do a short video but that doesn't seem to have worked so well!
thanks so much for looking.
I'll have one more card for tomorrow, be sure and check back.
and remember
I had never made a waterfall card and had thought that it would be way too complicated so I put it off for ages. This class seemed like a good reason to try one and I was so surprised at how easy it really is- and just how super cute and effective. It was a big hit and I may have just convinced a few people that they NEED the Message in a Bottle set!
I searched Pinterest (of course) but was unable to come up with too many cards made recently using current stamp sets so I just set about experimenting with the sets I have and I am really happy with the results.
I found the best tutorial on Split Coast Stampers although there are plenty around. (it was a new craze back in 2007! according to SCS). I did add the punched half circle at the base which Dawn Griffith shows in her video also.
My Measurements
- standard Australian card base 10.5cm x 29.7 scored in half to stand vertically ( 2 cards per sheet of A4)
- DSP 10cm x 14.2
- Anchor strip 1" x 10.5cm
- folding mechanism 2" x 9" score at 2", 23/4", 31/2", and 41/4" so you have 4 score lines 3/4" apart, use the tag punch at the 9" end
- 4 squares Cardstock 2x2"
- 4 squares of very vanilla 17'8 x 17/8" TIP: I scored the very vanilla page at 17/8" intervals and cut it into strips 17/8"wide for the class so each participant had one pre-scored strip and they stamped the images in a row before cutting into squares, just made my job easier, and it was less confusing for them.
We did the Message in a Bottle in class, but I made a few other samples and I'll photograph them and post them tomorrow. I would love to enter this for the Global Design Project #95 Kids but I think I may have missed the deadline!
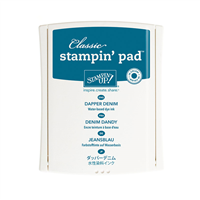
For the class they had one strip of Very Vanilla and did all the stamping in one go before cutting it along the score lines and mounting on the 2"Denim Squares.
 |
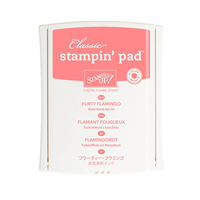
| I had a little Berry burst on the trial sample but went with only 3 colours for class |
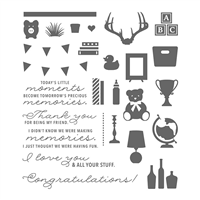
I was really happy with the Baby cards because I've had Bookcase Builder in my stash for ages - You know those sets you just have to have- then didn't know what to do with it! I think this could be the answer.
thanks so much for looking.
I'll have one more card for tomorrow, be sure and check back.
and remember
"don't just post online
post something pretty!"
Liz


Comments
Post a Comment
Thanks so much for taking the time to comment. I really appreciate it,
In line with new Data Protection legislation (GDPR) by commenting you do so in the knowledge that your name & comment are visible to all who visit this blog and thereby consent to the use of that personal information for that specific purpose.
Liz