Welcome back for another week at CTC where we are casing the projects from pages 86-101. There were a few projects in here which inspired me but I want to take you on a little creative journey to where I ended up this week and a happy accidental new technique I discovered along the way.

The aim of CTC is to take a project which inspires you from the catalogue and use it as a springboard for your creations. This week I used the card on the top left of this half of page 97.
I am a fan of layers and little clusters of elements and of stitching so all 3 of these things appealed in the love you more card here.

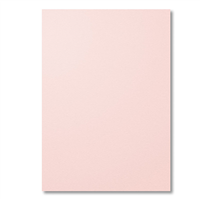
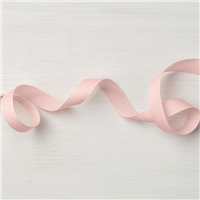
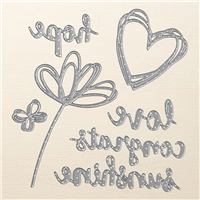
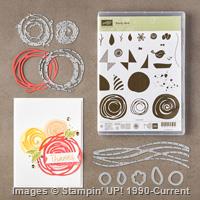
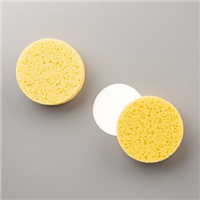
My first card used the same background stamping tone on tone in the beautiful new Powder Pink, the word and heart from Sunshine Wishes Thinlits , the little roses from Swirly Bird and one of the gorgeous new Touches of Nature Elements - these wooden elements are natural timber on one side and white on the other - scrumptious! I poked a little bit of ribbon and paper in there and stitched it all together.

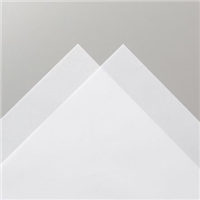
Of course when I use the bigshot I rarely cut only one set of elements. So using the other cut pieces I created a similar card. The tone on tone stamping is still the Swirly Birds elements with a layer of vellum over the top. Then a few pieces from my "Useful Box" - i e leftover bits from previous projects and again all stitched together. (If you too were raised on the ABC's Playschool you'll recognise that term!)

And since I still had bits leftover I decided to arrange a third card. Again there are layers of elements stitched onto the base panel.
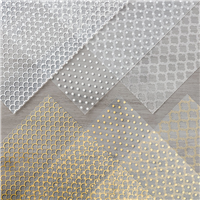
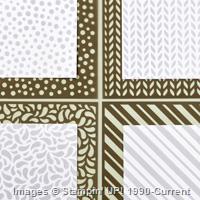
These are the colours used in all these projects.
And I'm quite excited to have discovered a new technique by accident.
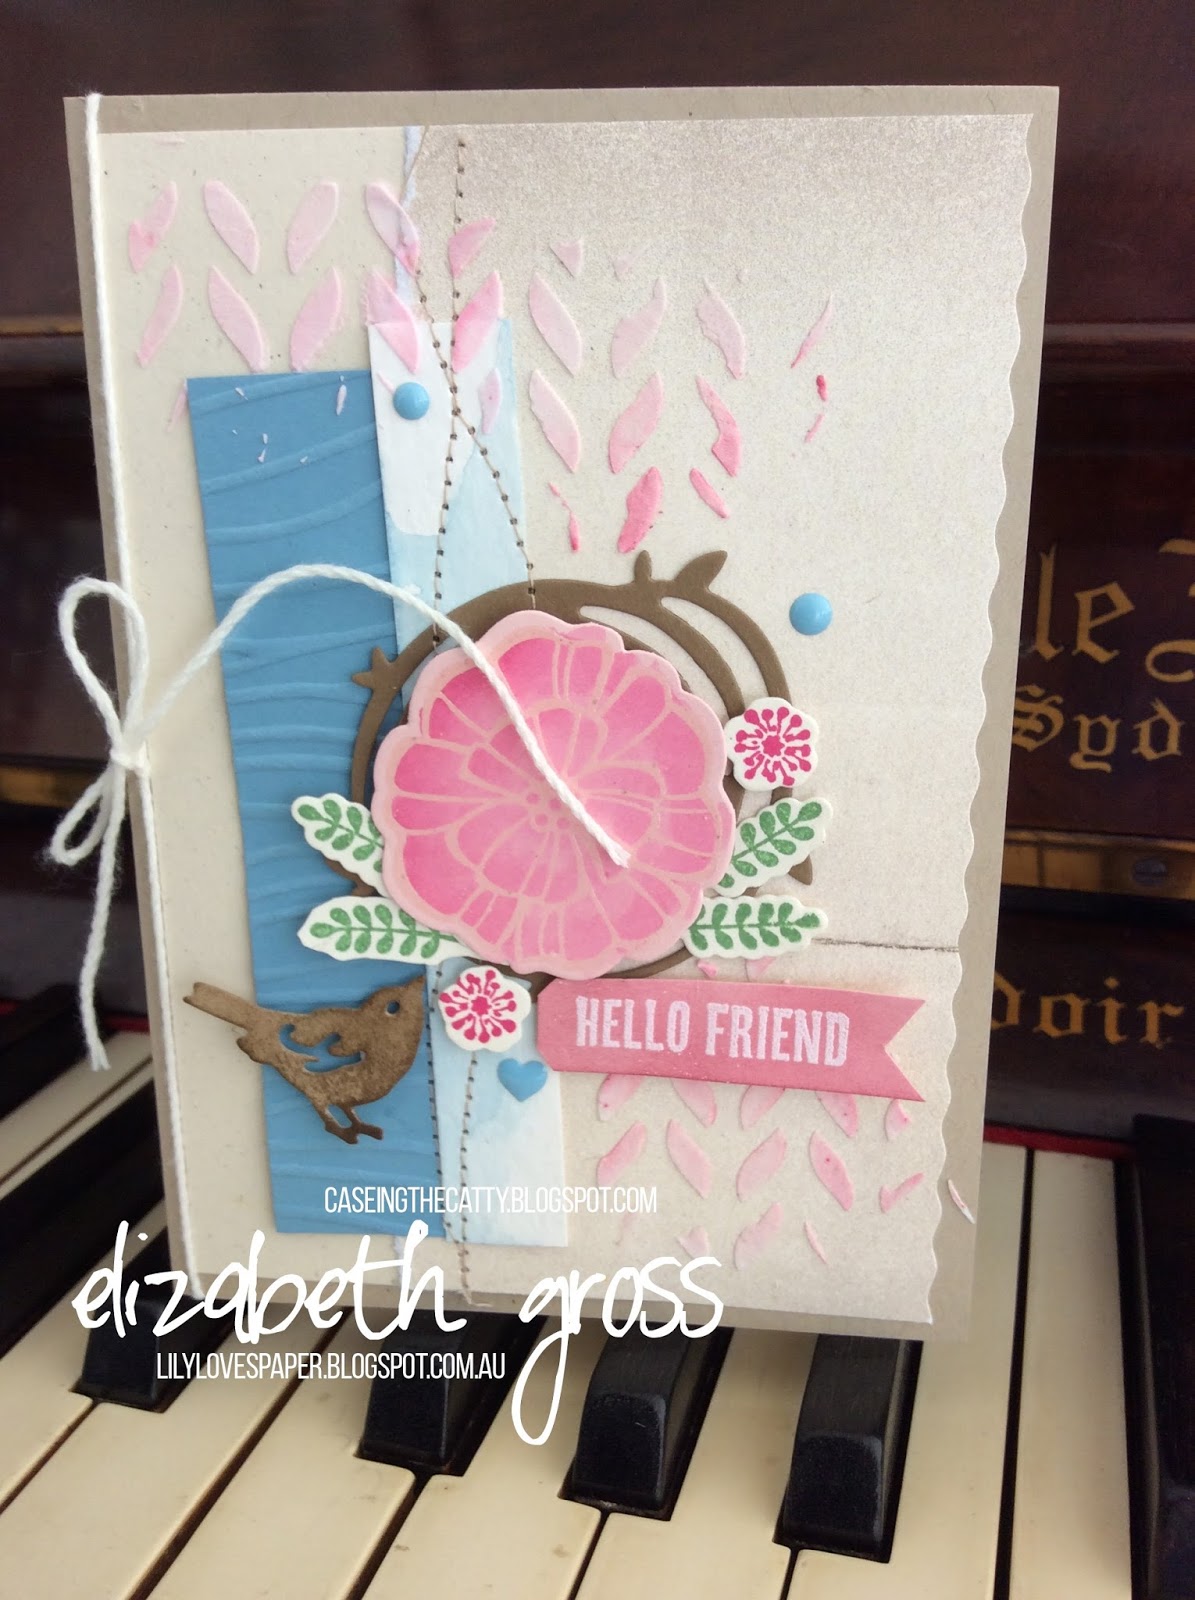
I'm calling it "SPONGED MASK EMBOSSING PASTE TECHNIQUE".
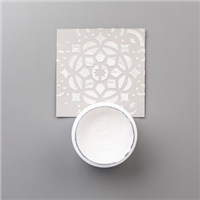
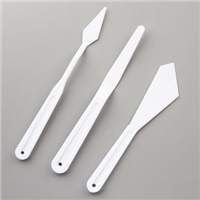
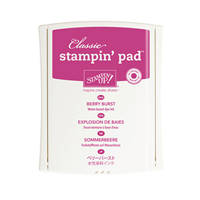
I LOVE the new embossing paste and decided to add some to the base instead of stamping. I had been using the stencil mask to sponge a background but didn't realise I hadn't cleaned off the BERRY BURST ink from the sponging. I used the palette knife to spread some of the white paste and noticed it was changing colour as I did so- the white paste was picking up the pink ink left on the mask. BRILLIANT!!!! You can see how it changes colour. So I have now been experimenting and will have a few more cards to show soon. You get the best effect from a strong colour.
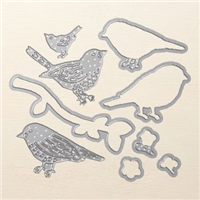
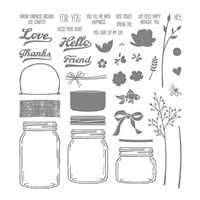
The elements in this card also include bits from my useful box, the flower is clear embossed from Falling Flowers and watercolored, and the green fronds are from Jar of Love. The little bird is from Birds and Blooms , the wreath is from Swirly Bird and Hello Friend is left over from my Wood Words sets. The little enamel elements just tie in the Marina Mist Quite a mix!!


Thanks so much for looking, I hope you'll try the "sponged mask embossing paste technique". It's super fun.
See what projects inspire you in pages 86-101. Make a card or other item and post a photo of it to our Facebook page. We are looking for new designers to join the team and you have to play along in June to be considered. Make sure you mention that you are keen to apply if that's your intention. If that's not your thing then just play along and share your creativity with us- we love to see what you come up with too.
EDIT: - I have written another post about this technique with more details and images. You can find it here

Next this week from over the ditch is the gorgeous Jackie

And before me this week is Kelly

Be sure and hop all the way around and check out everyone's creations.

Thanks for looking, and remember
"don't just post online,
post something pretty!"
Liz
Wow, what gorgeous cards!! And what a great new technique! Thanks for sharing.
ReplyDeletethanks Bec, I was super excited to discover this and have a host of other samples to share tomorrow!
DeleteI'm so impressed by the way you actually use the bits from your 'useful box'. I want to be like you, and actually use the bits. Love ALL these cards, you're inspiring many of us, I'm sure.
ReplyDeleteThanks Rachel - it's not the fastest way to create.... and I have to be in the mood... but it is very satisfying to use them. If they are still there after a few sessions I force myself to throw them out! - they get a few chances to shine then they are binned !!! But it has taken me quite a bit of discipline to get to this point.
DeleteYou are such a clever clogs. What a fabulous bunch of projects. I love the tone on tone of the powder pink. Just beautiful. And I love your new technique too. Such fabulous inspiration. Thankyou.
ReplyDeleteThankyou Julia, your kind words always make me feel very grateful. I just love creating and sharing!
DeleteAbsolutely gorgeous cards Liz! You are the queen of layers & clusters! Kelly x
ReplyDeleteBeautiful cards!!!Thanks for the heads up with your new technique! I love all the layers. I have a 'useful box' too that regularly gets a clean out to create cards! My favourite is the last one with that super adorable little bird...I had been holding out getting that - but I think you just changed my mind!
ReplyDeleteYour card is beautiful. Thanks for sharing your "accident". It's lovely.
ReplyDeleteGorgeous cards Liz and I love your new technique. I have a "Useful Dish" and if I don't use them I pop them in a bag with my other scraps and give it to a friend who has a preschool - the children love it!
ReplyDeleteThanks Angela, yes sometimes I parcel up the useful bits with coordinating card, ribbon and paper and include a bag with a thankyou gift for an order.
DeleteLove your cards! I rarely look at the creations in the catalog for inspiration, but certainly will take a closer look and see what inspires me. I need to go to my "extras" more often instead of just adding to the growing pile of tidbits. As soon as all my pastie treats come in I plan to play with your new technique! Thanks for your inspiration
ReplyDeleteThanks Jeanne Ann, oh you should definitely use the catalogue - there are always neat little extras in there if you go looking! And the design team have done all the work so copying is . YOu'll have fun when your paste arrives.
Delete